Showing posts with label reed. Show all posts

Friday, 18 September 2020

Outdoor Studio Space


This Summer I have been able to run some one to one tuition workshops in my Outdoor Studio Space!

With Covid-secure practices in place, it has been really lovely to offer spinning and weaving classes in my garden.  

I love working in the garden anyway, whether its taking my spinning wheel outside to spin to the sounds of the birds in the trees or setting up one of my small table looms to enjoy the afternoon weaving a bag, cushion cover or scarf and of course the knitting needles are so portable, I always have several projects on the go.


This week the outdoor studio became a weaver's wonderland!
A brand new Katie loom (8 shaft from Ashford) came to be warped and woven on for the first time.


And an "Inside set" was put on my Saori loom to dress with a readymade warp to be taken home and be woven.  


So it was a wonderfully busy day, making a warp, threading heddles, sleying reeds. 
All helped greatly with plenty of chat with tea and cake!


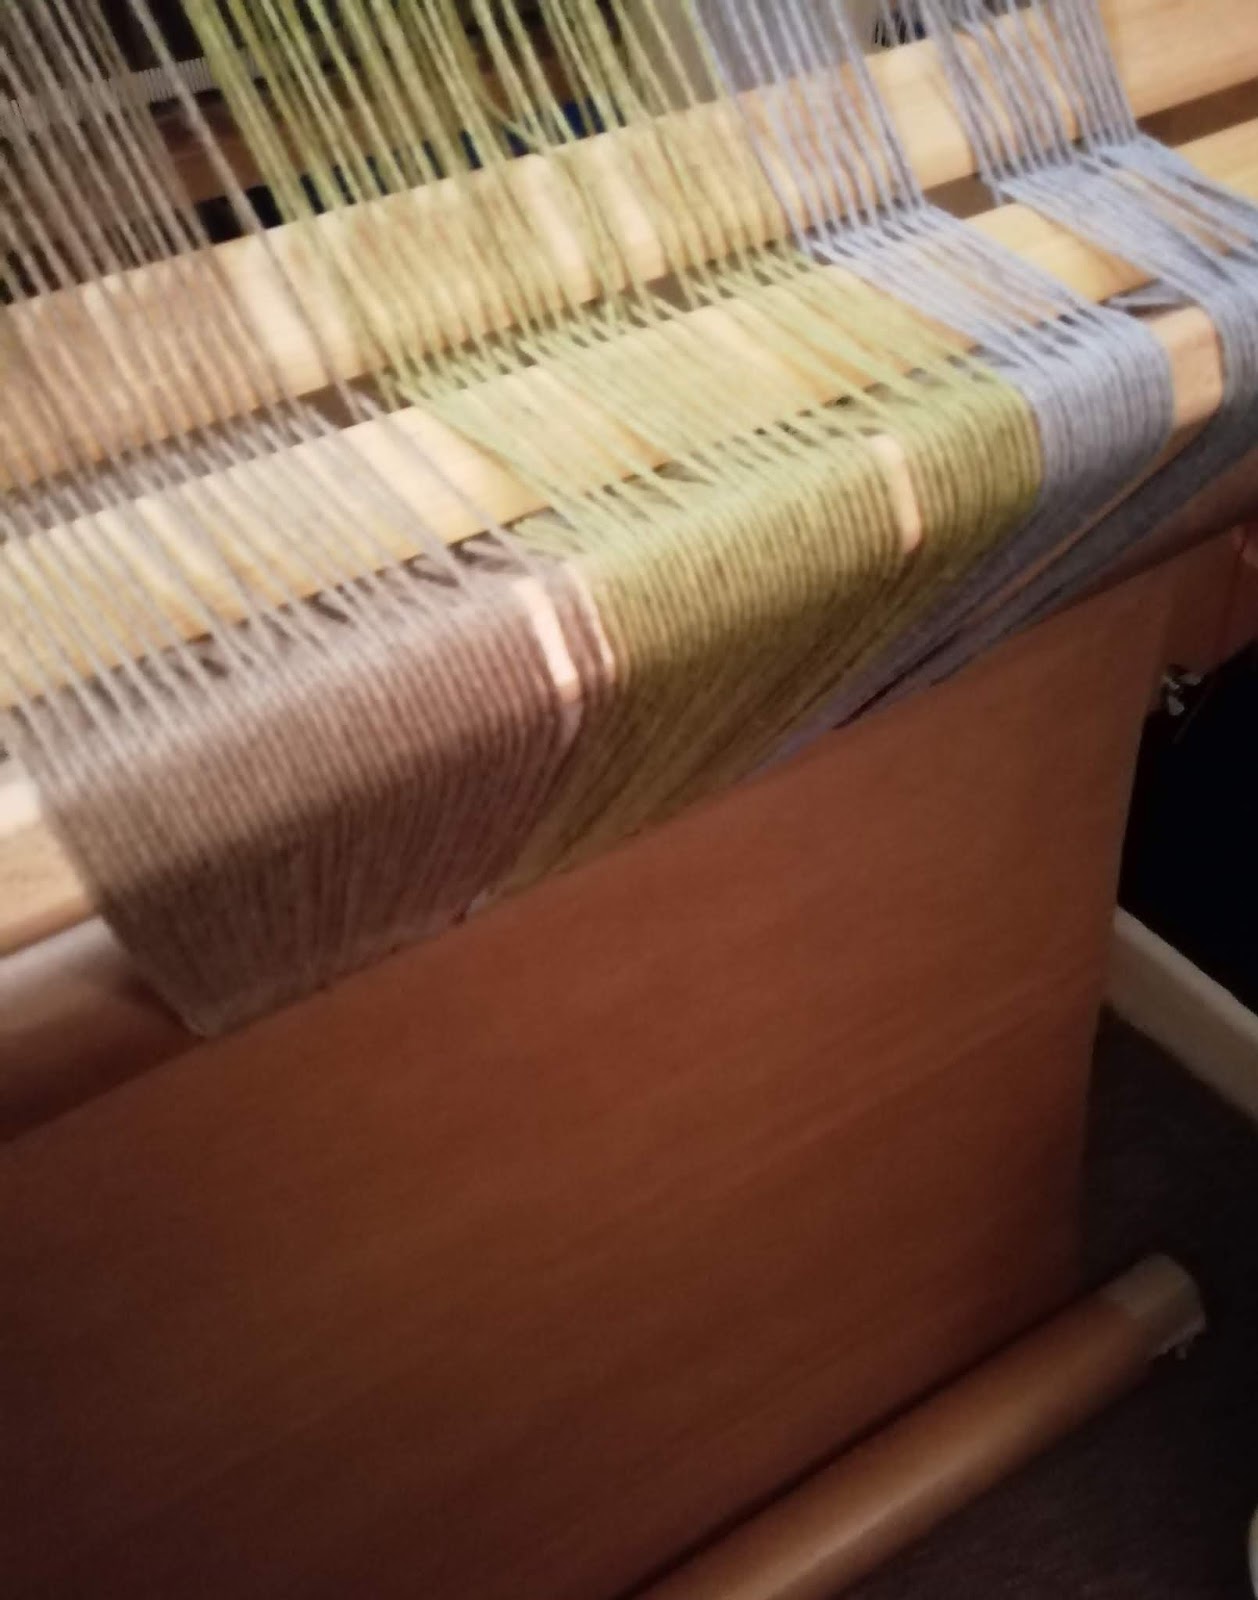
Now some of you who have a Saori loom may think the way I'm dressing the loom looks a little strange in the photo above.
Let me explain. Since having my David 2 loom (8 shaft floor loom) from Louet I have learnt a much easier and quicker way of warping up. I thought that I could transfer this method to my Saori.


I use two sticks from front to back to rest the reed and lease sticks on. 
I place the cross of the warp at the back of the loom and load it onto the extension rod, putting the lease sticks through the cross. I use a raddle clipped to the top of the loom shelf to spread out the warp. I wind the warp onto the back roller.


I thread the heddles from back to front.


With the reed laid flat it is so quick to sley.


Then its just a matter of  using the tying rod, hooking the treadles on and start weaving!
When loading a readymade warp as seen in the photo, I rest the warp on the lease sticks for easy access and have no need for a raddle as the warp threads are already on the roller in order ready to select.
It is such a simple way to dress a loom, in fact the Katie loom was done exactly the same way, no need  for double crosses as per instructions!
give it a go, have fun, happy weaving.


Wednesday, 22 January 2020

Weaving on the David 2 Loom

 My first blog post for 2020 is the very first weaving I made on my new David 2 Loom.
It was hand woven back in October last year, now as promised you can see the loom all dressed and producing cloth.

I used a linen cotton blend from Rowan for this first weaving something that is easy to warp up with. I wanted to avoid any problems such as broken warps or sticky threads so this was a perfect choice while I got to know my lovely new loom. I dressed the loom with a 5 metre warp a pattern of 3 wide stripes 120 ends.


 On the warping frame, then chained off ready to use


 The David 2 Loom is dressed from the back to the front, using lease sticks and the built in raddle.
So simple and very satisfying to do, it was easy to load 5 metres of warp on to the loom without assistance.

 In these two photos you can see the raddle at the top separating the warp threads and spreading them out to the correct width. In the bottom photo you can see the lease sticks holding the cross for ease of heddle threading in the correct order.

  The warp is rolled onto the back roller of the loom, I use strong paper to wind it up with, this keeps the warp threads neat and tight.

 I thread the heddles
 I sley the reed
 Then I was ready to weave, the David 2 Loom offers a beautiful wide shed to throw the shuttle and weave the weft.


 I wove this project in Plain Weave or Tabby, the tie up only uses two treadles.
I wanted to just understand and get the feel for the loom as well as produce something beautifully simple from the exercise. Having three colours of equal width across the warp and weaving a border at either end of the runner gave me an interest of design I was looking for.


 The grand first cutting the cloth off the loom was so special! Once washed my new table runner and two mats look and feel pretty good for a first project off the loom.


The whole process was brilliant, I know I made the right decision in choosing this particular make of loom. David and I are going to get on very well indeed.

Wednesday, 11 May 2016

Weaving Baby Blankets, Follow The Process - Part 1


April came and went and we are well into May! and I haven't got around to writing my blog so - before I show you the weaving process for some baby blankets I told you about in my last posting,  I want to do a quick catch up with the hand spun yarn I was working too. It has been washed and  is now being woven up Saori Style.
Okay sort of caught up, let's get blogging...
 

Baby Blankets Part 1
In my previous post I told you about the inspiration, planning and practicality of these blankets. Now I will try to give you a snapshot of each stage in their making.
Before I start there is always a bit of maths to work out such things as length, width, density and of course the exciting bit yarn, colour and pattern. Once I have got this sorted I start to wind a warp.
Here is my warping frame, note the centre pegs where the cross is formed as I wind the threads. 

Once I have my warp made, I need to remove it without it getting in a tangle! to keep the cross in place, I secure it with ties of strong cord ( shoe laces are brilliant for this). then I chain off the warp which also keeps all the threads in an orderly bunch.

I can now transfer my warp to  my weaving loom. I tie it to the top frame so as it doesn't slip or pull while I'm sleying the reed.

I hold all the threads of the cross in my hand as the photo below shows, this keeps the threads in the correct order and I'm able to take the topmost thread each time and put it through the reed.


This is the loom's reed and my reed tool 


Here you can see the sleying of the reed.

Come back soon  I will show you what happens next.